The One with the Tapestry

August 25, 2015

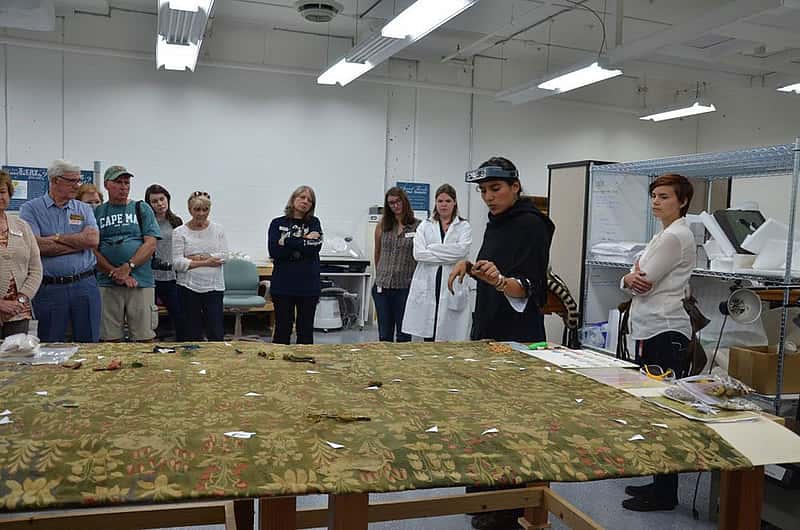
My first textile conservation project at the Center of the West was a sixteenth century European tapestry privately owned by one of the Conservation Internship Program’s most generous donors (she has funded a great many interns!). It is a big and beautiful work of art that had been waiting to go back home at the end of this summer. I decided to choose a specific flower patch on the tapestry’s lower right corner to work on.

Before this summer started Beverly, the chief conservator at the Center and our mentor, said there had already been more than three hundred hours of intern work done on the tapestry. Some of the work past interns had done included sewing open tears, water-coloring old repairs, stitching new warp in necessary areas of loss.
There have been many past treatments done on the tapestry before it arrived in our lab. These include possible patchwork, some embroidered embellishment, and possible resizing of the tapestry itself.
First, I removed previous mismatched weft stitch work from a spot next to a flower spot, as shown on the navy blue area by the flower head below.


Next, I color-matched cotton embroidery thread to the tapestry and stitched it on areas of weft loss, like the blue/grey background and green leaf. It is key that the stitch work follow the original thread pattern of the textile, in this case going vertically.


Sometimes there was no available thread that rightfully matched the color of the tapestry, so I would choose a lighter shade and watercolor the thread before stitching it on. There were also occasions where a previously added single warp was a substitute for two original lines of warp, which I decided to separate back into two with my stitch work. In instances of large areas of detail loss on the flower, I had to look at other similar flowers on the tapestry and, based on my observations, recreate these areas of loss. It was challenging but fun!


After almost forty hours of work on the flower, this puppy was ready and eager to go home. It isn’t perfect but I’m satisfied with the results. I think future conservators will be able to identify where I’ve worked on in my first textile treatment of many to come, and I’m a proud mom.


Written By
Vanessa Ocaña-Mayor
Vanessa was born in Lima, Peru and raised in Florida. She graduated from the University of Florida in 2014 with a BA in Anthropology and BFA in Sculpture. Vanessa served as a summer 2015 conservation intern at the Buffalo Bill Center of the West in Cody, Wyoming, and plans to pursue a career in Textile Conservation.
You May Also Like
Records and Research at the Cody Firearms Museum
Jun 26, 2026
Here at the Buffalo Bill Center of the West, we...
Heart Mountain Through the Lens
Jul 02, 2026
Each July, former detainees, their families and descendants, gather at...
20 Years of Learning: St. Labre Students Make Their Spring Visit
May 14, 2026
While a late April snow fell on Cody, St. Labre...
Exploring the Turkey Vulture’s Sense of Smell
Jun 19, 2026
Suli, the Draper Museum Raptor Experience’s Turkey Vulture © courtesy...
Family Activities in Cody, WY
Jun 30, 2026
Families visiting Cody will find plenty of adventures that blend...
The Secret Custer Letter: Rediscovering Little Bighorn at 150
Jun 02, 2026
Earlier this year, while reprocessing the MS 89 Jack Richard...
Greasy Grass at 150: Art, Heroism, and the Tragedy at Little Bighorn
May 21, 2026
Lt. Colonel George Armstrong Custer stands just right of center,...
Eastern Chic and Western Mystique: New Yorkers and the Buffalo Bill Center of the West
Jun 23, 2026
"The Buffalo Bill Center is the best Western museum that...
Speaking in Code: Rare Winchester Telegraph Code Books
Jun 30, 2026
Among the rarest items in the McCracken Research Library’s archival collections...
Buffalo Bill Center of the West Announces Hunter C. Old Elk as Recipient of Rare Distinguished Alumni Award from Native American Jumpstart
Jun 02, 2026
Hunter C. Old Elk CODY, WY — The Buffalo Bill...
The one with the Internship
Jul 29, 2015
The four conservation interns moving a pull-out couch in. As...