Wild Things: Wildlife Animal Arts and Crafts
Art in the Garden this year has been a lot of fun for me and the families that participate in our free activities. Our first week’s theme was Cowboys and Cowgirls. The museum guests and I had a lot of fun decorating cowboy boots, creating popsicle stick cowboy and cowgirl dolls, and making our own stick ponies.
After that, we created tipis to coincide with the Center of the West’s annual Plains Indian Museum Powwow in Cody.
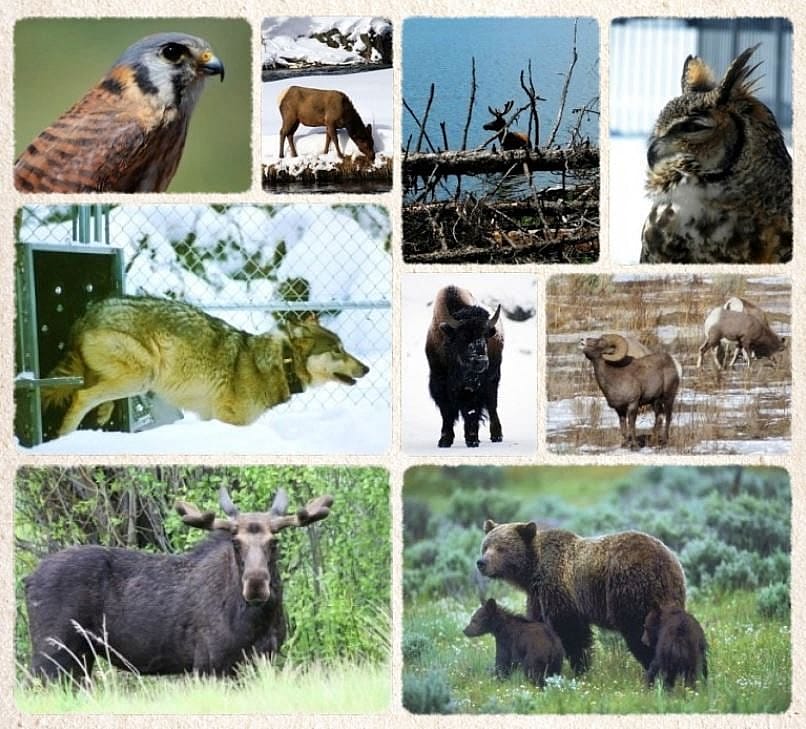
After two weeks of focusing on the people of the West, I decided that it was time to go in a new direction. The following week’s theme was Wildlife. We created our own wild animals and learned more about the animals that call this area home.
During our Wildlife Week we also hosted Family Fun Day: Live at the Museum. Live animals came to the museum, ranging from cows to scorpions, to chinchillas.
Below I have included instructions for these activities. Here at the Center, we supply all the necessary materials and cleanup.
Wildlife Animal Arts and Crafts
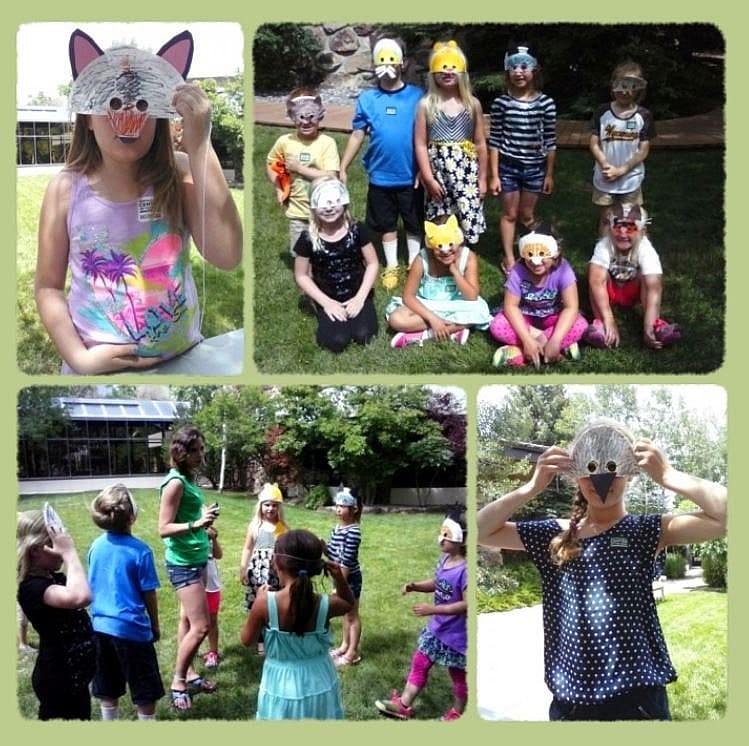
Wild Animal Masks

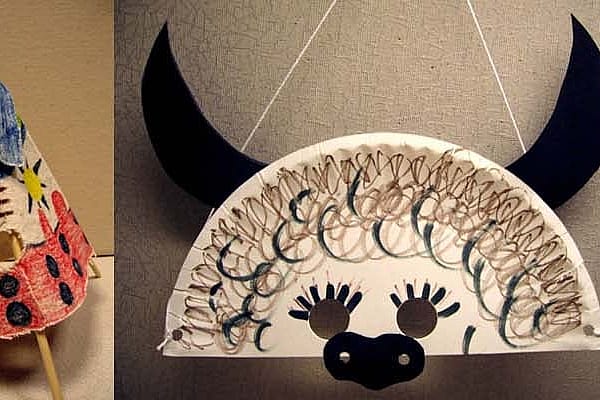
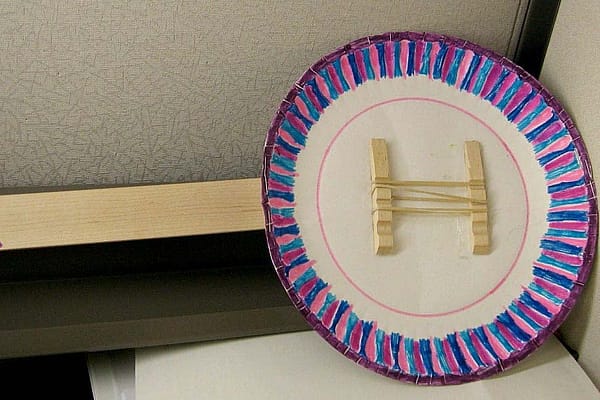
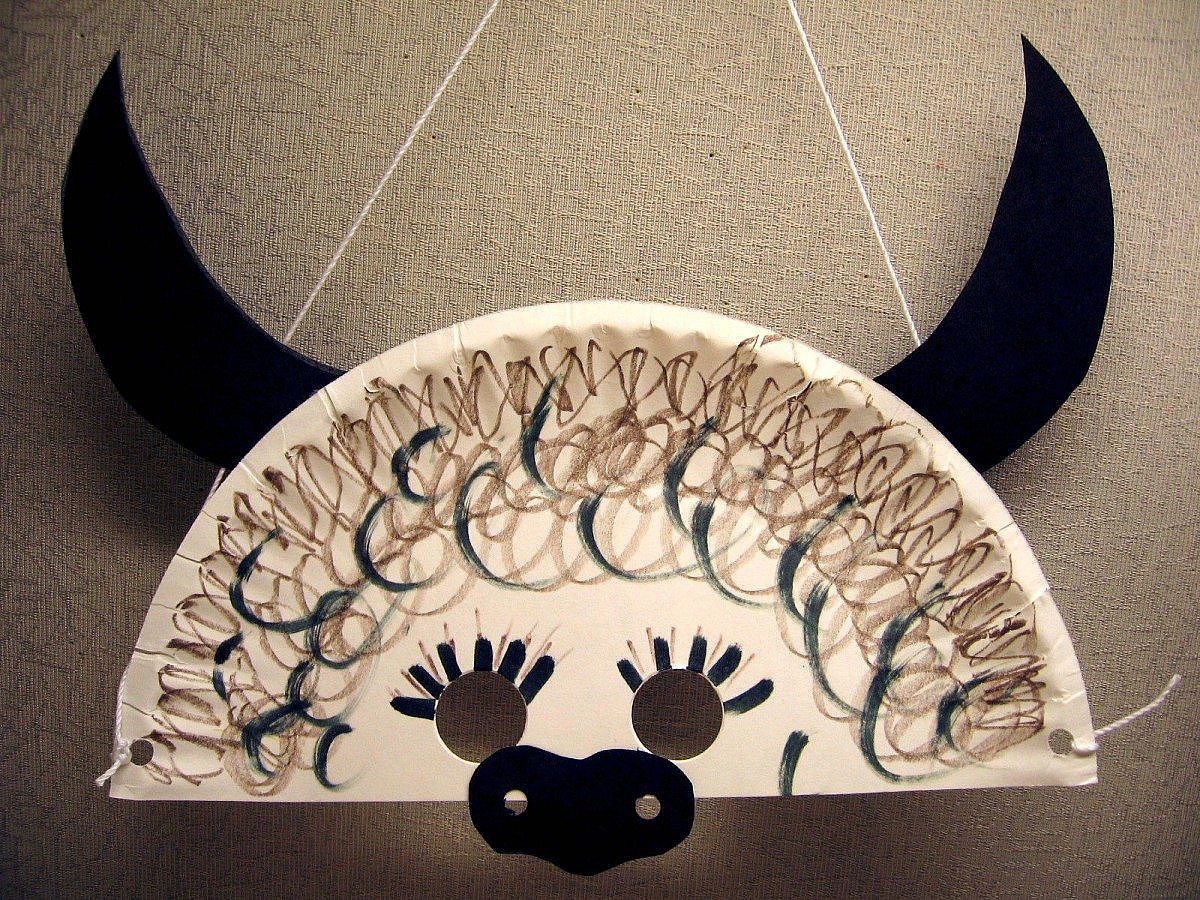
During Art in the Garden, we made animal masks. Children not only learned more about the animals they were creating but also had fun pretending to be the animal. At the end of the day, we had a whole menagerie of animals! Foxes, wolves, bears, owls, and every type of cat.
Make Your Own Wild Animal Mask
Supplies:
- Paper plates
- Scissors
- Construction paper
- Markers or crayons
- Glue
- Hole punch
- String
Directions:
- Take a paper plate and cut it in half.
- Hold it up to child’s face to mark eye placement.
- Cut eye holes, double checking to see if your child can see through it.
- Have your child choose an animal to create.
- Color the plate so that it looks like the animal.
- Cut out ears and nose for the animal. Glue those pieces to the correct location.
- Poke a hole on both sides of the plate.
- Take string and tie the end to one of the holes.
- Take the other side and wrap it around the head of your child until it is a comfortable length.
- Cut string and tie into the other hole.
- Wear.
Clay Animals
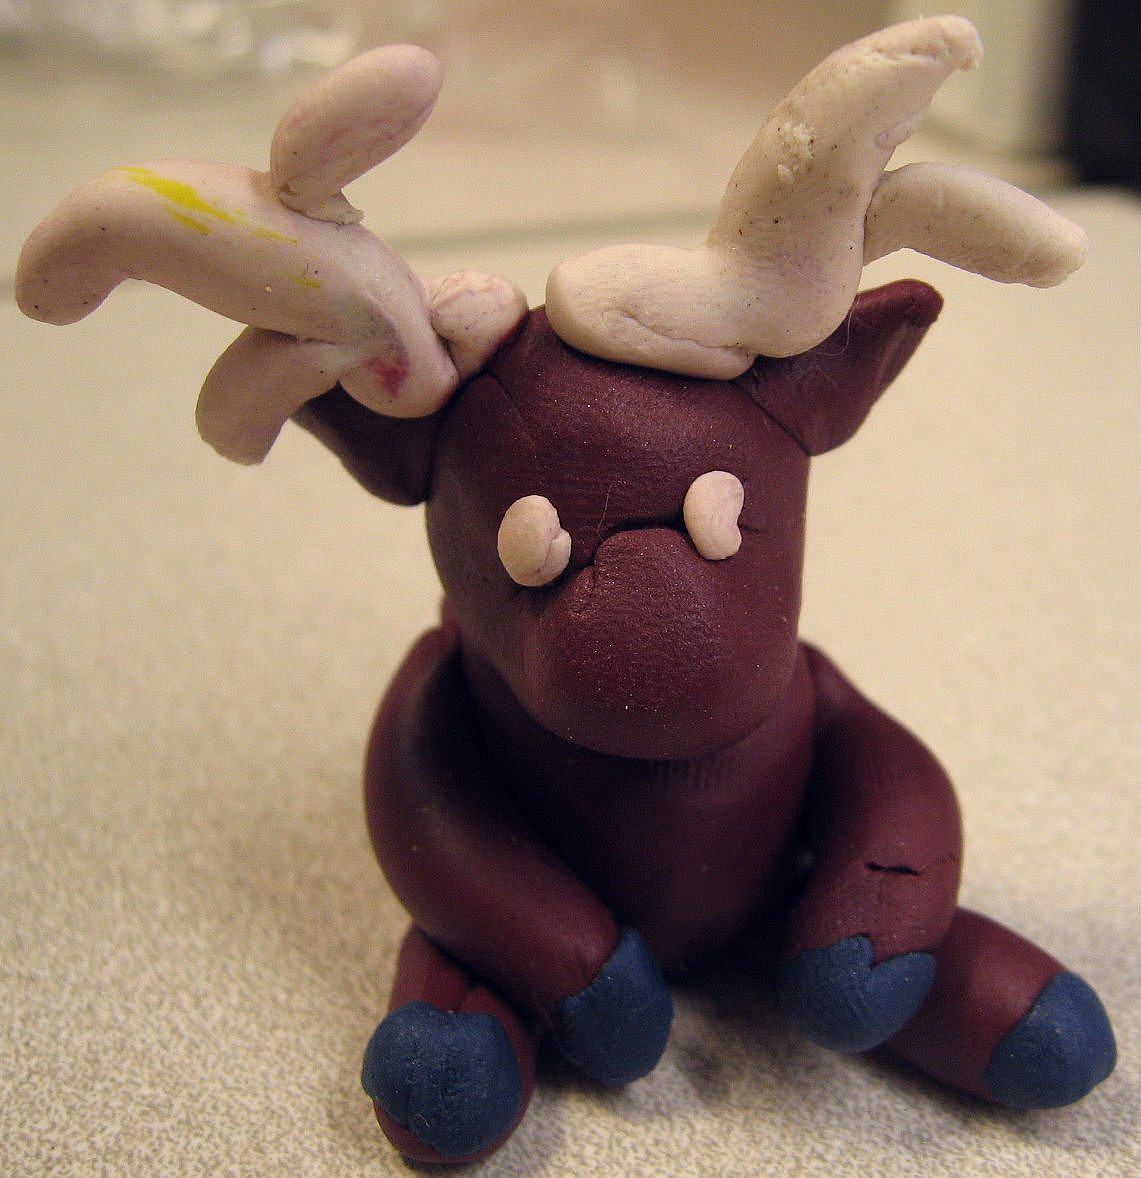
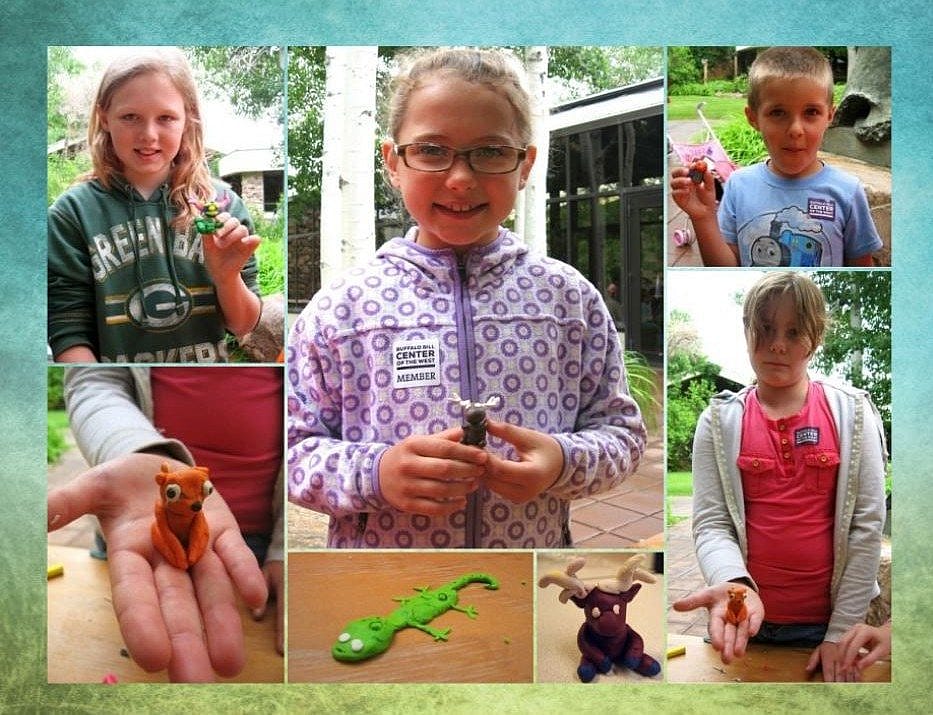
There is a time when everyone wishes they could own some wild animal. Of course, we know that isn’t good for the person or the animal, as wild animals need to remain wild and free. But if you can’t have a real one, you can create a wild clay animal to keep in your home. We did this activity two days and we ended up with all kinds of animals, foxes, salamanders, moose, snakes, bears, and wolves!
Make a Clay Animal
Supplies:
- Clay (Any color you want)
- Pencil
- Toothpicks
Directions:
- Select clay and roll it between your hands to make it more malleable.
- If you are creating a bear, wolf, moose, fox, etc.; roll the clay into a ball to make a head.
- After the head is the size you want, pinch the front part of the head, so that it comes forward, creating a snout.
- Take a larger amount of clay and make a bigger ball for the body.
- Use a toothpick to attach the head to the body.
- Roll out more clay to make the arms, legs, and other parts of your animal’s body.
- If animal is sitting, like the above moose, attach the other pieces to the body. If your animal is standing on two or four legs, make sure to place toothpicks in the arms and legs so they don’t topple over.
To explore some other fun craft projects with a western theme, go to a Cowboy’s Life is the Life for Me.
For more information on wild animals, check out our blogs: Fieldnotes from the Greater Yellowstone Ecosystem and the Draper Museum Raptor Experience.
Or visit the Draper Natural History Museum at the Buffalo Bill Center of the West.
Written By
Leah Madsen
Leah Madsen is our current education intern at the Buffalo Bill Center of the West. Miss Madsen recently graduated from Sonoma State University in California with her B.A. in history and art history. While not a native to Wyoming, Miss Madsen has always enjoyed Western film, art, and history; and is excited to be a part of the team this summer.
